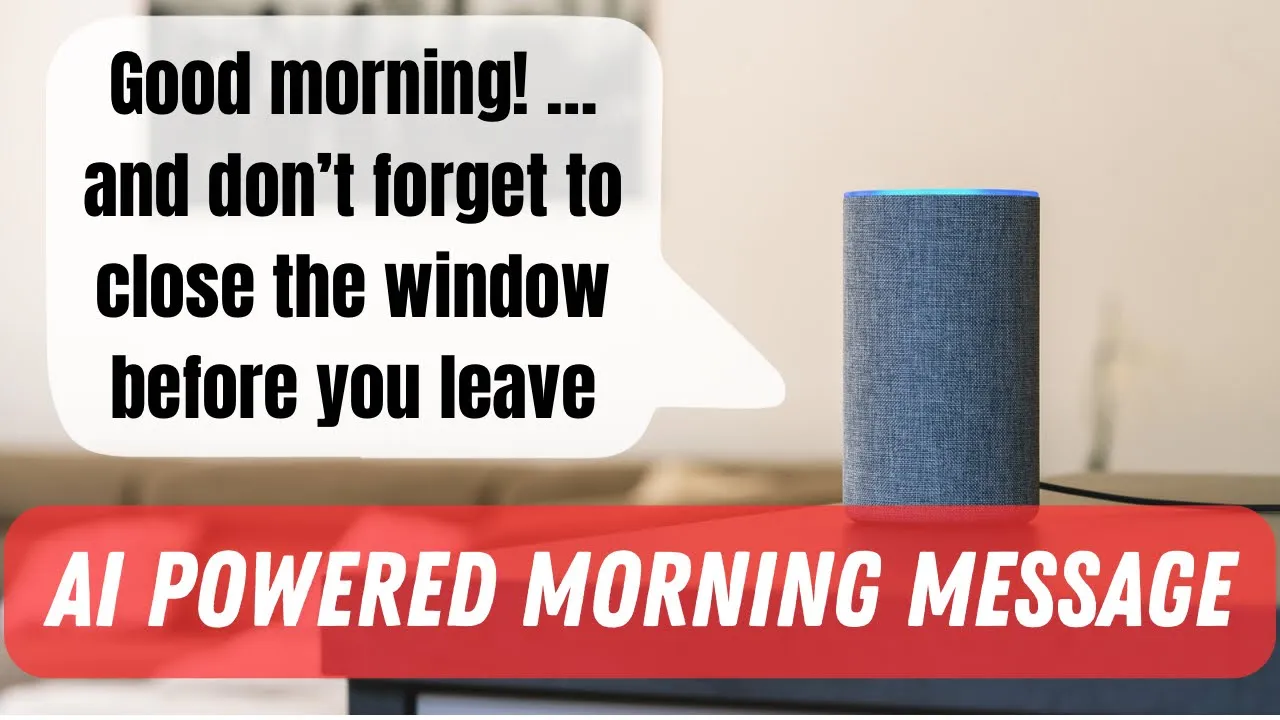
Being welcomed with an automated, individual smart good morning message every morning before leaving the house to work which includes information gathered by your smart home sounds super awesome to you? Then watch this video to get a better understanding of how it works.
To get a better grasp on what I actually did to make this work, I will outline the detailed steps in this article in more detail. Be aware that the step numbering is different from the video as the video is less detailed.
Step 1 — Set up ESPresense and integrate with HomeAssistant
You need to get an ESP32 enabled development board which you can flash with ESPresense, a software you can dowload from espresense.com. The website also includes a detailled description of how to set up ESPresense and teach tracked devices (e.g. a smartphone or a smart watch) to it. You also need to set up an MQTT broker in your network which the ESPresense device can connect to in order to publish events. I simply used Mosquitto which is available as an addon for Home Assistant. Once this is done, Home Assistant should automatically discover the ESPresence device via MQTT auto discovery. You now need to leverage the mqtt_room sensor platform in Home Assistant to define the device you have just created in your configuration.yaml:
# Example configuration.yaml entry
sensor:
  - platform: mqtt_room
    device_id: 123testid # id of the tracked device defined in ESPresense
    name: 123TestName # any name that you want to give the device
    state_topic: "espresense/rooms" # name of the MQTT topic - standard setting is "espresense/rooms"
    away_timeout: 30 # how many seconds to wait in absense of tracked device before marking as "not_home"
That’s it. After restarting Home Assistant, you should have a sensor name “123TestName” which tracks the location of the tracked device. It either holds the name of your ESPresense device (eg. “living room”) or “not_home” if the tracked device has not been identified in proximity of the ESPresense device for away_timeout seconds. You can install multiple ESPresense devices in different rooms and the sensor will always hold the name of the ESPresense device which is closest to the tracked device or “not home” if none is close.
Step 2— Create a new automation in Home Assistant and use mqtt_room sensor as trigger
Now that you have a sensor that tracks your tracked device (e.g. your smartphone) and identifies when it is in a certain room or area of your house, you can use this sensor as a trigger for an automation. So you can open Home Assistant and create a new automation. As a trigger, you can use “state”. As the entity, you select the new presense sensor and as to “to” value, you select the room for which you want to set up the smart good morning message. Once this trigger has been set, you can save the automation and go to step 3.
Step 3— The creative part where you design your good morning message
Now comes the creative part. You need to decide which information your smart good morning message should include. In my case, I decided that for a first version, I am definitely interested in the following topics in the morning before I leave the house to work:
– What’s the current weather?
– What are my upcoming meetings?
– Are lights still turned on in the house and if so, which ones?
– Are windows still opened in the house and if so, which ones?
– What’s the current charging state of my electric vehicle and how far can I drive with it before I need to recharge?
– What’s a cool scientific fact of the day?
– What’s an interesting historic fact for the current day?

Step 4— Get OpenAI API key and set up OpenAI Conversation Integration in Home Assistant
You now need an API key from OpenAI. There are numerous tutorials out there explaining this, so I don’t go into detail here. You can for example use the tutorial from “how to geek”.
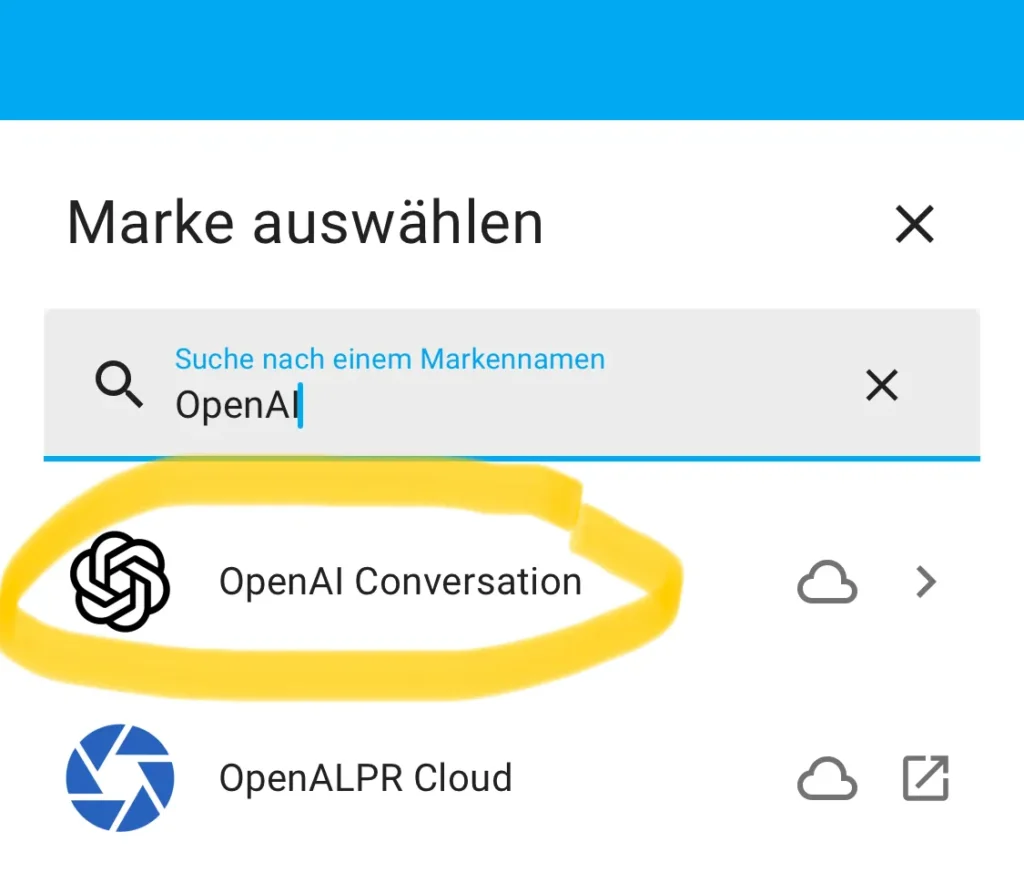
Once you have an API key, we need to set up the OpenAI Conversation Integration in Home Assistant. It’s quite simple. Just go to “Settings” > “Devices & Services” and click on “Add integration”. Then select “OpenAI Conversation” and when prompted paste your API key.
Step 5 — Write a prompt for ChatGPT to create your smart morning message including data coming from your house
With the contents of our smart morning message in mind, we can now create a prompt which shall be sent to ChatGPT in order to create the smart morning message. We use the Jinja2 template language in order to integrate information from Home Assistant devices & services directly into the prompt. Here is an example excerpt of my good morning message prompt:
Write a happy, motivating good morning message for The SmartHome Maker.
He is a Tech Enthusiast and loves developing new hardware and software
solutions for his smart home. The message should explain the current
weather in a funny way. The current weather is {{ states(’weather.my_home’) }}
and the temperature is {{ state_attr(’weather.my_home’, ‘temperature’) }}
degrees Celsius. As he will soon leave to work, please remind him to
close any open windows. The following array includes all open windows:
[{%- for state in states -%}{%- if state.domain == "binary_sensor" and
"window" in state.name and state.state == "on" -%}{{ state.name }}
is {%- if state.state == "on" -%}open{%- else -%}closed{%- endif -%},
{%- endif -%}{%- endfor -%}]
...
As you can see, I integrated for example the current weather information using sensors from Home Assistant. Also, I included an array of open windows so that ChatGPT knows which windows are open and can integrate those in the smart morning message. You hopefully see the power of this solution!
Step 6 — Add the service call to OpenAI to your Home Assistant automation
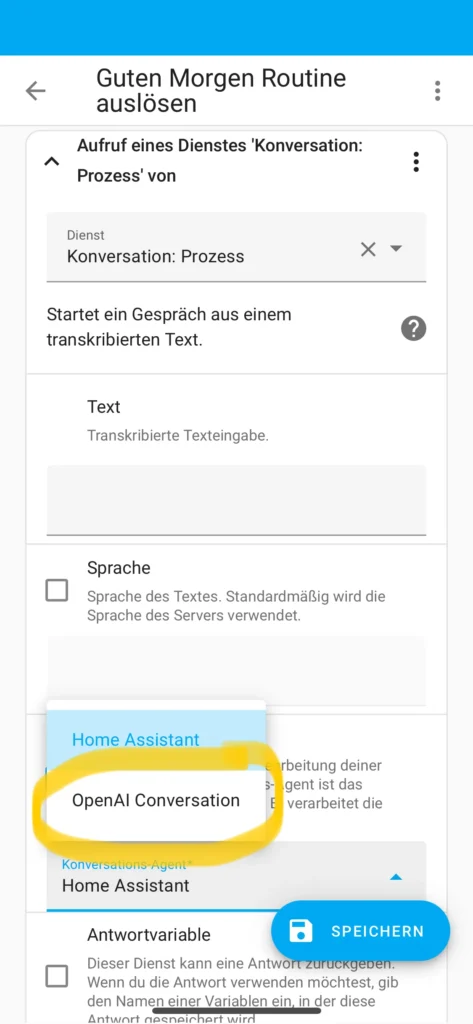
We can now open up the automation again which we started to create in step 2. We can go to the “Actions” section and add a new action. Click “Add action” and select “Service”. From the list of available servies, you select “conversation.process”. Now you first have to scroll down to “Agent” and select “OpenAI Conversation”:
After that, you click on the three vertical dots on on the top right of the action box and select “Edit as YAML”. You should see a YAML like this (where <your_agent_id> is automatically filled with the id of your conversation agent):
service: conversation.process
data:
  agent_id: <your_agent_id>
We now have to add the prompt to this YAML and also define a “response_variable” (which is a variable that will be filled with the response from ChatGPT after the service has been sucessfully called):
service: conversation.process
data:
  agent_id: <your_agent_id>
  text: >-
    Write a happy, motivating good morning message for The SmartHome Maker.
    He is a Tech Enthusiast and loves developing new hardware and software
    solutions for his smart home. The message should explain the current
    weather in a funny way. The current weather is {{ states('weather.my_home') }}
    and the temperature is {{ state_attr('weather.my_home', 'temperature') }}
    degrees Celsius. As he will soon leave to work, please remind him to
    close any open windows. The following array includes all open windows:
    [{%- for state in states -%}{%- if state.domain == "binary_sensor" and
    "window" in state.name and state.state == "on" -%}{{ state.name }}
    is {%- if state.state == "on" -%}open{%- else -%}closed{%- endif -%},
    {%- endif -%}{%- endfor -%}]
response_variable: chatgpt_response
Step 7 — Now use the response from ChatGPT and send it to your smart speaker
Now that the response from ChatGPT is stored in the variable chatgpt_response, we can use it in a further service call to send it to our smart speaker, e.g. an Amazon Echo device:
service: notify.alexa_media_my_echo
data:
  message: "{{ chatgpt_response.response.speech.plain.speech }}"
Finished 🙂
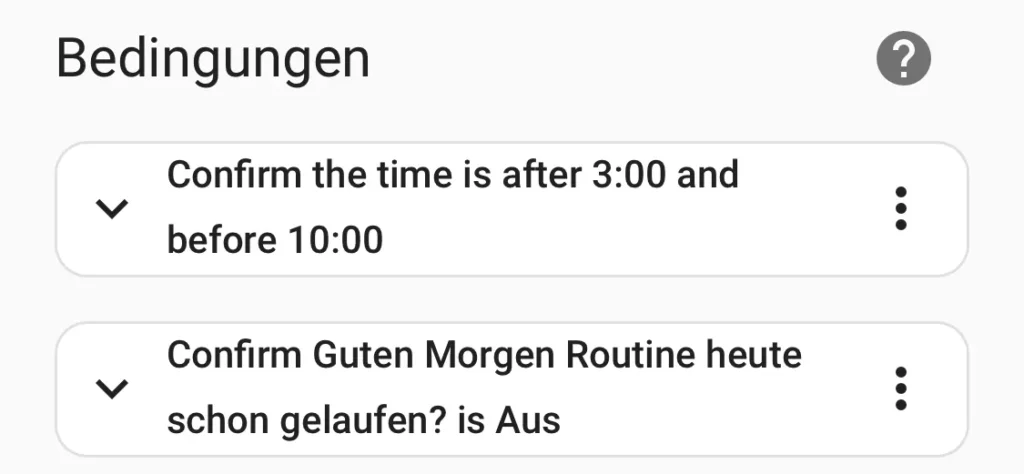
If required, you can tune your automation by adding some conditions that need to be met. For example I added the condition that the good morning message shall only be called in the morning time between 3am and 10am. Also, I added an input_boolean to Home Assistant which stores whether the good morning message was already called that morning because I don’t want to hear it multiple times when I leave the room and come back in. This input_boolean will be reset once per night by a second automation.
I am really curious on which contents you included in your good morning message! Let me know in the comments!

No responses yet